 |
| Original Art work by CSG |
Today she will be showing us how to do a simple typography lettering project. Below is a time-lapse video of the finished project and the step by step process.
Note: You can use any wide tip marker. Crayola classic markers are preferred.
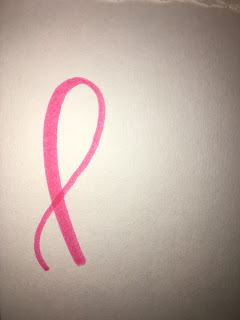
Step 2 : Going from a little below the loop of the left leg, a thin up-stroke then a thicker down-stroke. Now you have your first letter!
Step 3 : Next is the letter E. To start, make a thin up stroke. This will connect your H to your E.
Step 4 : Make a thick loop from the end of your first line. It is okay if the two are disconnected, the thick down-stroke later will fix this.
Step 5 : Continue the thick down-stroke from the loop you just made. As you finish off the loop, apply less pressure to the marker to get a thinner line. Now you have your letter E.
Step 6: Similar to the letter E, create a thin up-stroke line first to connect letters.
Step 7 : The letter L is really similar to the letter E in the way it loops. The only difference is the the loop for the L is longer. Since this is the case, you can repeat steps 3 and 4 but with a longer loop.
Step 8 : Repeat this a second time for your second L in Hello.
Step 9 : The final letter, letter O. Start with a thick down-stroke, applying less pressure as you get to the right side.
Step 10 : Keep the thin line going until you reach the loop at the top. From the top of the loop, make a thick down stroke and finish off the letter.
Thanks to my very special guest for doing this awesome how-to project.


No comments:
Post a Comment